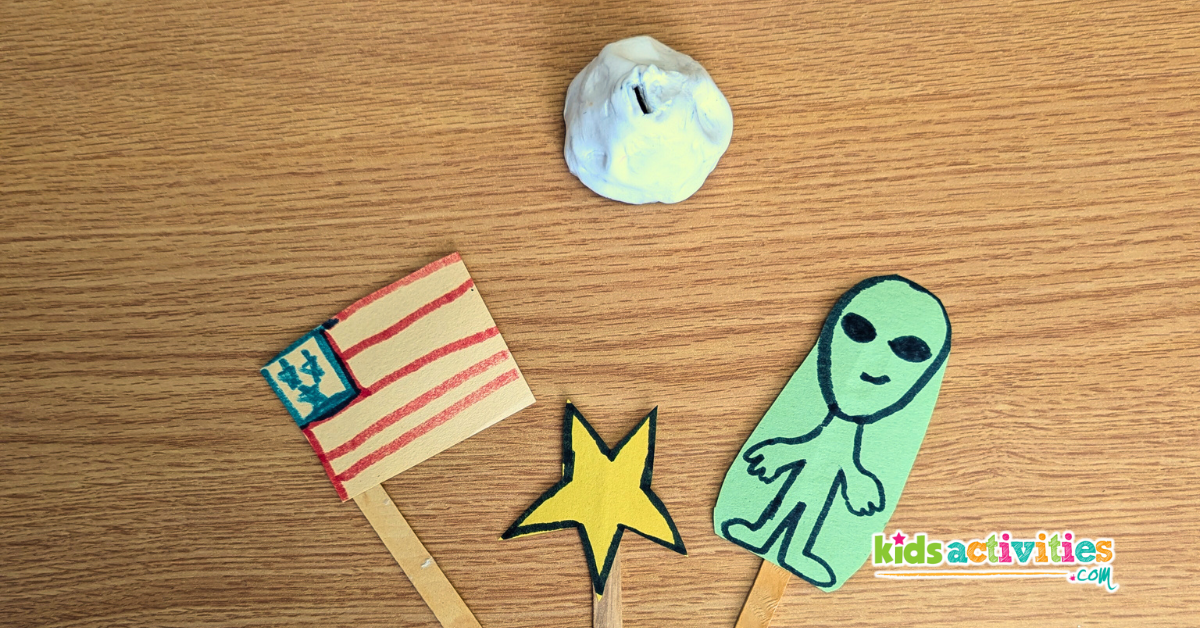
Make this fun air dry clay moon landing art project for kids! This creative art project is easy to make and can be modified for different activities and themes. It is a great project for kids between the ages of 4 and 8, in a classroom or at home!
Air dry clay moon art project
With this fun and easy project you can create a creative and educational art project with some air dry clay, egg cartons, and basic craft supplies! It is both a great learning opportunity and a fun activity. This project can easily be modified for the activity and outcome of the activity with a few simple changes, and it is a great project to encourage creativity and fun!
Related: Learn about the first man on the moon here at Britannica!
With this art project you can make anything from an educational art project to teach about the first man on the moon, Neil Armstrong, to a silly alien art project just for fun! Some kids have drawn themselves as astronauts, others created their very own colorful rainbow moons from another planet!
This article includes affiliated links.
Supplies you need for airdry clay moon art

Steps to make Air Dry Clay Moon Art
First: Form the moon shape

First you will need an adult separate the egg cartons into individual single pieces with a box cutter. It may also be easier to poke a hole at the bottom of each carton for a popsicle stick to fit later on. Then you will need to cover the egg carton with the air dry clay and form it into the shape of a moon with different bumps and crevasses.
Second: Place a popsicle stick in the top

Now you will add the popsicle stick through the top! You may want to form some extra clay over the top and bottom side where the craft stick is if you want it to stay there forever. If you would like to remove the craft sickle stick later, you can remove the craft stick after poking a hole so that it doesn’t get stuck when the air dry clay dries up.
Third: Color the moon with markers

Now you can color your moon if you want too! You can either let the air dry clay dry first, or color it while it is still wet. It can be grey like the moon, or you can be creative and make it colorful like a moon from a different planet!
Forth: Draw something to put on the moon

Now create something to go on your moon! This can be anything! You can make a flag, an alien, an astronaut, a rocket, a shooting star, or even a rover to explore! With this project you can make multiple different props just by adding more craft sticks and drawing more props for your moon art.
Last: Cut out the drawing and glue it to the stick

The last part of this art project is to cut out your creations from the paper, and glue it to the popsicle sticks! If the props are interchangeable you can have fun with a play about your moon landing and change the decorations for the moon!
Our moon landing art projects!


This is our moon landing art projects. I loved how creative everyone got with their art projects and tried to create something unique. After the kids made their art they spent the rest of their time making stories about their moon landings which was absolutely adorable! This was a really fun art project that everyone loved!
Prep Time
5 minutes
Active Time
25 minutes
Total Time
30 minutes
Difficulty
easy
Estimated Cost
$1
Materials
- – Paper
- – Air dry clay
- – Egg carton
- – Craft stick
Tools
- – Glue
- – Scissors
- – Markers
Instructions
- Prepare the egg cartons with a box cutter to separate all of them and add a hole in the top for the craft sticks to fit inside.
- Form the air dry clay around the egg carton into a moon shape.
- Place a craft stick through the top of the moon and egg carton.
- Color the moon with markers (optional)
- Draw some props to put on the moon.
- Cut out the props and glue them to the craft sticks.
More Space Activities from Kids Activities Blog to explore
What was the first thing on your moon? Let us know in the comments below!

